From our previous articles, you may get the impression that writing and deploying smart contracts for asynchronous networks on Threaded Virtual Machine (TVM) like Everscale and Venom is complicated and time-consuming. The smart contract code needs to be converted to a .boc file, which will contain the code that has been converted to the cell tree type that the TVM is working with. In addition, for the compiler to work properly, it is necessary to create an .abi file that partially describes the parameters of the smart contract and the operation of its functions. However, thanks to the tools created with intention to help developers, the process of testing and deploying smart contracts is mostly automated.
We start a new project: recreating a famous collectible card game from the Witcher series called Gwent entirely on Everscale smart contracts. In the first article, we will describe the process of preparation of the new project, write about the minimum necessary dependencies, about the peculiarities of the contract deployment into the network and deploy our NFT collection with a couple of game cards.
Initial preparation
To write and deploy smart contracts, we will need the following tools:
- Node.js — all interactions with Everscale and Venom blockchains can be done through Javascript and Typescript libraries, SDKs and frameworks;
- IntelliJ Tsol Plugin or extension for VS Code Everscale (TON) Solidity (tsol) — optional — syntax highlighting when writing smart contracts in Threaded Solidity language (files with .tsol extension). Threaded Solidity is an adaptation of Solidity that works with TVM that facilitates writing asynchronously interacting smart contracts with TVM instruction calls;
- Locklift — a functional framework for testing and deploying smart contracts. This framework can emulate the empty Everscale state in RAM, which makes it possible to test the deployment process without running a local node;
- Locklift is configured in a separate file — locklift.config.ts, where the keys from the giver contracts and the keys from the address that initiates the deployment of the contract are pulled in.
- The last thing to consider when preparing to write your own smart contracts is getting testnet tokens and endpoint addresses to interact with the network.
- Install the EVER Wallet extension for Chrome;
- Then you need to register and create a project at https://evercloud.dev/. After creating a project, you will be redirected to a dashboard with a list of endpoints and a faucet to receive testnet tokens;
- Specify your wallet address to receive testnet tokens from the faucet. In the wallet UI, switch to testnet, where you should have 100 EVER on your balance. To activate the address on the network, send some EVER to your own address.
Now we are ready to start creating the project and configuring it.
Configuring the project
The project can be found in an open repository on Github:
git clone https://github.com/FairyFromAlfeya/ever-gwent-contracts.gitYou can follow the article and check it against what lies in the repository or create a project from scratch on your own.
Let’s move on to creating the project.
Install Locklift:
npm i lockliftCreate a Locklift project:
mkdir gwent-contracts
cd gwent-contracts
npx locklift init -f
For convenience, let’s write a couple of necessary scripts in package.json:
"scripts": {
    "prepare": "husky install",

    "format": "prettier --write \"{test,deploy}/**/*.ts\"",
    "lint": "eslint \"{test,deploy}/**/*.ts\" --fix",

    "build": "locklift build",
    "test": "locklift test --disable-build -n locklift",
    "deploy": "locklift deploy --disable-build -n locklift",

    "set-card-code": "locklift run --disable-build -s scripts/1-set-card-code.ts -n",
    "mint": "locklift run --disable-build -s scripts/0-mint-card.ts -n"

  },
Calls to “format” and “lint” commands will run scripts to check code by linter and fix errors. Additionally, “build” allows you to build the project by Locklift; “test” and “deploy” will let you test and prod run the contract deploy.
Dependencies:
"@broxus/ever-contracts": "git://github.com/broxus/ever-contracts",Base contracts that are similar to openzeppelin/contracts. In our project we will inherit from the abstract Ownable contract so that our smart contract will have the necessary attributes.
"@broxus/tip4": "git://github.com/broxus/tip4",Contracts that have implemented the TIP-4 NFT standard written by the Broxus team.
"@broxus/locklift-deploy": "1.1.1",A plugin for Locklift, which is similar in functionality to the hardhat-deploy plugin. With this plugin, you will be able to write scripts for contract deployment and flexibly configure which script will be taken when placing this or that network.
"@broxus/locklift-verifier": "1.0.5",A plugin for Locklift to simplify the process of verifying a smart contract. A verified smart contract is an open source contract that can be compiled by anyone to verify the source code by hashing it.
Dependencies with d.ts files to specify types for Typescript:
"@types/chai": "4.3.6",
"@types/mocha": "10.0.1",
"@types/node": "20.7.0",
Linters for Typescript:
"@typescript-eslint/eslint-plugin": "6.7.3",
"@typescript-eslint/parser": "6.7.3"
"eslint": "8.50.0",
"eslint-config-prettier": "9.0.0",
"eslint-plugin-prettier": "5.0.0",
"prettier": "3.0.3"
Library for loading .env files with environment variables:
"dotenv": "16.3.1",A version of Locklift and Typescript:
"locklift": "^2.8.3",
"typescript": "5.2.2"
To configure a Locklift network to test smart contracts, the following must be written in package.json:
"resolutions": {
"nekoton-wasm": "npm:[email protected]"
},
The .eslintrc.yml and .prettierrc files contain the linter configs, and tsconfig.json contains instructions for running the Typescript compiler.
In .env.template is the template for the .env file that Locklift will pull up. If you have cloned the repository, remember to remove .template from the file name before testing.
Locklift configuration file
Navigate to the locklift.config.ts file. The file is created automatically when the project is initialized. We only need to make small adjustments. This is what makes the Locklift framework so convenient – all parameters are managed from a single config file.
Let’s go through the changes we made to the automatically generated locklift.config.ts file:
Hooking up a plugin for deploys:
import { Deployments } from '@broxus/locklift-deploy';

Import the keys from the .env file and make it possible to use the keys via process.env.CONST_NAME:

import * as dotenv from 'dotenv';

dotenv.config();
Load the Locklift plugin into Chai to make accurate tracing work: tracking contract calls, invocations, and their parameters:
import * as chai from 'chai';
chai.use(lockliftChai);
For Typescript to work correctly, we import the types declared in ./build/factorySource.ts of our smart contract:
import { FactorySource } from './build/factorySource';Declare a global variable “locklift,”which is the Locklift interface where we will add our contract in the form of the “deployments” property:
declare global {
  const locklift: import('locklift').Locklift<FactorySource>;
}

declare module 'locklift' {
  // eslint-disable-next-line @typescript-eslint/ban-ts-comment
  // @ts-ignore
  export interface Locklift {
    deployments: Deployments<FactorySource>;
  }
}
We will use this global variable in scripts for contract deployment.
Now we need to configure the network for testing our smart contract. In the past, to test smart contracts, a local node in a docker container was launched. Locklift can emulate a network with an empty stack directly in RAM, but this requires changing the local connection settings. We have removed the unnecessary connection objects, as we won’t need them for now. Next, we add:
locklift: {
      connection: {
        id: 2,
        group: 'local',
        type: 'proxy',
        data: {} as never,
      },
      giver: {
        address: process.env.LOCAL_GIVER_ADDRESS!,
        key: process.env.LOCAL_GIVER_KEY!,
      },
      keys: {
        phrase: process.env.LOCAL_PHRASE,
        amount: 20,
      },
    },
In this connection object type, “proxy” just tells the framework that we want to use its own network to test the smart contract.
There are a few things to do with the Locklift configuration. We need to add at least one more connection to make the smart contracts prod deployment: for you, we will describe adding a testnet.
To do this, let’s add to our .env file the endpoint testnet nodes, the public and private keys from our Ever Wallet and the seed phrase:
DEVNET_NETWORK_ENDPOINT=https://devnet.evercloud.dev/your-hashed-project/graphql
DEVNET_GIVER_ADDRESS=your-wallet-address
DEVNET_GIVER_KEY=your=wallet-private-key
DEVNET_PHRASE='seed phrase from your wallet'
And also add a new connection in locklift.config.ts:
testnet: {
      connection: {
        id: 3,
        group: 'dev',
        type: 'graphql',
        data: {
          endpoints: [process.env.DEVNET_NETWORK_ENDPOINT!],
          latencyDetectionInterval: 1000,
          local: false,
        },
      },
      giver: {
        address: process.env.DEVNET_GIVER_ADDRESS!,
        key: process.env.DEVNET_GIVER_KEY!,
      },
      keys: {
        phrase: process.env.DEVNET_PHRASE!,
        amount: 20,
      },
    },
Now we can switch between networks. Let us move on to the description of smart contracts.
Collection smart contracts
At the heart of the game will be an NFT collection containing character cards with their characteristics and abilities.
The main contract GwentCollection.tsol inherits from the abstract contract GwentCollectionBase.tsol, which imports the contracts that have implemented the TIP-4 standard with easy upgrade features.
The collection has the following public methods defined in addition to the constructor:
setCardCode()— updates the NFT code by the address-owner of the collection;mintCard()— mints game card (NFT);upgrade()— upgrades the collection code;- For a simplified collection code upgrade, a structure with the collection contract state is described in
IGwentCollectionUpgradeData.tsol, into which the interface with the collection version structure (IGwentVersions.tsol) is imported; onCodeUpgrade()— collection contract upgrade callback that removes the old contract code.
- For a simplified collection code upgrade, a structure with the collection contract state is described in
In the constructor, we check the arguments passed in and return the error codes we have written, imported from GwentErrors.tsol.
The abstract collection GwentCollectionBase.tsol describes the properties and methods that will be present in the child contract of the main collection.
Let’s start with the parent contracts descriptors from which the abstract collection inherits:
- Ownable — the contract must have an owner address defined;
- Upgradable — the contract code can be upgraded by the owner;
- Upgrader — the contract can initiate upgrades to other contracts, in our case card contracts (NFTs in the collection);
- TIP-6 — a standard describing a set of contract interfaces; it is used to restrict the set of smart contracts that our contract will be able to interact with;
- IGwentCollection — interface that inherits from standard NFT implementations: TIP4_1Collection, TIP4_2JSON_Metadata (describes an NFT constructor to which NFT metadata is passed as a json string), TIP4_3Collection. The interface describes the following methods:
- Read-only methods
platformCode(),platformCodeHash(),nftCodeVersion()that return theGwentPlatform.tsolcode as a TVM cell, platform code hash, and card code version (NFT) respectively; setCardCode()— updates the NFT code;mintCard()— mints NFTs. Here we pass the imported structure with card parameters to mint a unique NFT.
- Read-only methods
The read only functionality of abstract collection methods becomes clear after reading the method names. Let’s see why we have two standards TIP4_1Collection and TIP4_3Collection. TIP-4_3 is a standard describing the creation of custom indexes for NFT collections to make it easier for decentralized applications to find collections or individual NFTs by owner address. In our abstract collection, the methods _deployIndexBasis(), _buildIndexBasisCode() and _buildIndexBasisState() are written to create indexes of the source code and state of the collection and deploy them to the network.
Smart contracts of player cards (NFT)
Now let us move on to the smart contracts of the game cards themselves, which are non-interchangeable tokens in our collection. As with the collection, we will go from the main contract of the card up the inheritance hierarchy (which partially repeats the structure of the collection, and therefore we will pay attention only to the NFT-specific properties and methods of the contracts).
Cards have a manager and an owner. Only the owner of the collection can deploy a card. A card update can be triggered by anyone, since the card code is taken from a collection and its code can only be updated by the owner. The manager manages the NFT. Once the manager function is transferred to another address, even the owner cannot regain its functionality. Usually the address that purchases the NFT is given manager functions. In the case of a game, the manager is required for integration with other contracts: in the future, the manager will be assigned to a deck contract so that players cannot add cards to decks, transfer them to other addresses or sell them.
The abstract card contract describes a read-only method to retrieve the characteristics, faction and abilities of the cards described in the contracts lying in ./libraries/characteristics. These same methods are partially defined in the IGwentCard.tsol interface.
Bitwise AND calculates whether a card has an ability, what faction it belongs to, what line it will stand on and so on.
Characteristics of Cirilla Fiona Elen Riannon:
attributes: {
    strength: 15,
    strengthBoosted: 0,
    abilities: ABILITY_TYPE.HERO,
    effects: EFFECT_TYPE.NO_EFFECT,
    rows: ROW_TYPE.MELEE,
    faction: FACTION_TYPE.NEUTRAL,
},
Let’s take abilities. GwentAbilityType.tsol contains a library with possible ability variants:
library GwentAbilityType {
    uint8 constant GWENT_ABILITY_TYPE_HERO = 1;
    uint8 constant GWENT_ABILITY_TYPE_MEDIC = 2;
    uint8 constant GWENT_ABILITY_TYPE_MORALE_BOOST = 4;
    uint8 constant GWENT_ABILITY_TYPE_MASTER = 8;
    uint8 constant GWENT_ABILITY_TYPE_SPY = 16;
    uint8 constant GWENT_ABILITY_TYPE_TIGHT_BOND = 32;
}
The abstract contract of a card has a function to get a tuple with boolean values: true — the card has this ability, false — it does not.
function getAbilities()
    external
    view
    override
    responsible
    returns (
        bool hero,
        bool medic,
        bool moraleBoost,
        bool master,
        bool spy,
        bool tightBond
    )
{
    bool isHero = (_params.abilities & GwentAbilityType.GWENT_ABILITY_TYPE_HERO) > 0;
    bool isMedic = (_params.abilities & GwentAbilityType.GWENT_ABILITY_TYPE_MEDIC) > 0;
    bool isMoraleBoost = (_params.abilities & GwentAbilityType.GWENT_ABILITY_TYPE_MORALE_BOOST) > 0;
    bool isMaster = (_params.abilities & GwentAbilityType.GWENT_ABILITY_TYPE_MASTER) > 0;
    bool isSpy = (_params.abilities & GwentAbilityType.GWENT_ABILITY_TYPE_SPY) > 0;
    bool isTightBond = (_params.abilities & GwentAbilityType.GWENT_ABILITY_TYPE_TIGHT_BOND) > 0;
    return {
        value: 0,
        flag: MsgFlag.REMAINING_GAS,
        bounce: false
    } (isHero, isMedic, isMoraleBoost, isMaster, isSpy, isTightBond);
}
Let’s see how the calculation is done:
GWENT_ABILITY_TYPE_HERO = 1, i.e. 00000001

ABILITY_TYPE.HERO = 00000001
Apply bitwise AND (if both bits are 1, the answer will have a one in place of this bit, otherwise 0):
00000001 & 00000001 = 00000001

00000001 = 1

1 > 0
Therefore, the tuple under the null index will be true.
The card characteristics are described in the IGwentCardParams.tsol structure, which are passed to IGwentCardExtra.tsol. This structure also contains unique properties that should not affect the contract address in any way when passed as a TVM cell to the card constructor.
Platform smart contract
Open GwentPlatform.tsol. If the platform attempts to use a smart contract with an address other than the deployer address, the platform contract will be destroyed and the funds attached to the platform code upgrade message returned to the address passed as address _remainingGasTo. If the platform is used by the address of the deployer, it will update its code to that passed in the constructor parameters and will be ready to be passed to other functions as an argument.
The platform is initialized inside the mintCard() function to calculate the address of the new card:
address card = new GwentPlatform{
            stateInit: state,
            value: GwentGas.MINT_CARD_VALUE,
            flag: MsgFlag.SENDER_PAYS_FEES,
            bounce: false
        }(
            _buildCardCode(),
            _cardCodeVersion,
            extra,
            _remainingGasTo
        );
We pass the salt card code, which is calculated by the _buildCardCode() function of the abstract collection, to the platform constructor:
function _buildCardCode() internal view returns (TvmCell) {
        TvmBuilder salt;

        salt.store(address(this));

        return tvm.setCodeSalt(_cardCode, salt.toCell());
    }
Next, the platform packages the data passed to the constructor and updates its code, turning it into the code for the new card:
function _upgrade(
        TvmCell _code,
        uint32 _version,
        TvmCell _extra,
        address _remainingGasTo
    ) internal {
        tvm.rawReserve(GwentGas.GWENT_TARGET_BALANCE, 0);

        TvmCell data = abi.encode(
            IGwentPlatformUpgradeData.GwentPlatformUpgradeData({
                versions: IGwentVersions.GwentVersions(_version, uint32(0)),
                deployer: _deployer,
                platformCode: tvm.code(),
                params: _params,
                extra: _extra,
                remainingGasTo: _remainingGasTo
            })
        );
        // within one transaction we update the contract code for the next calls, then change the contract code for the current call, which triggers the onCodeUpgrade() function.
        tvm.setcode(_code);
        tvm.setCurrentCode(_code);

        onCodeUpgrade(data);
    }
We can also update the code of the cards through the platform. When the upgrade() function is called, the onCodeUpgrade() function is triggered, which leads to the fulfilment of the condition:
if (versions.previous == 0) {
            _upgradeFromPlatform(_data);
        }
Since only the platform has the previous version – 0, its _upgradeFromPlatform() is called, to which the data passed to the upgrade() function is passed.
Deployment scripts
We need to deploy several smart contracts into the network. In the /deploy directory lie the scripts that will be executed by the Locklift framework on the ‘test’ or ‘deploy’ command.
The first one is the account that will be the owner of our NFT collection – 0-deploy-owner-wallet.ts:
type: WalletTypes.WalletV3,
value: toNano(5),
Deploy a V3 wallet (the simplest implementation of an account with a balance) and send 5 EVER to it.
Instead of writing everything by hand, just use the function from the locklift-deploy plugin:
await locklift.deployments.deployAccounts()Now, the script for deploying the contract of the collection itself – 2-deploy-gwent.ts.
Declare the owner of the collection by taking the deploymentName: 'OwnerWallet', from the owner account deploy:
const owner = locklift.deployments.getAccount('OwnerWallet');For convenience, let’s use a function from the plugin:
await locklift.deployments.deploy()Here we pass the public key of the declared owner of the collection; the owner’s address, indicating that the funds remaining from the attachment to the message to initiate the deployment will be sent to the owner’s address and the amount of EVER that the owner will leave on the balance of the smart contract.
And this line prohibits the collection from being deployed unless the owner’s account can be found in the network:
export const dependencies = ['owner-wallet'];After the collection is deployed, it is time to deploy the cards. Check if the collection is available:
export const dependencies = ['gwent-collection'];Card properties are taken from the ./assets/neutral.cards.ts file.
The 1-deploy-user-wallet.ts script describes the deployment of a regular account to which card ownership can be transferred.
Scripts in the /scripts directory
0-mint-card.ts, unlike 3-deploy-gwent-card.ts, is used as a script for the collection owner, by which he can commit the card to any address. 3-deploy-gwent-card.ts will commit the card to the address received after the wallet deployment by the 1-deploy-user-wallet.ts script.
1-set-card-code.ts is a separate script to update the NFT code. This script is run with the 'yarn mint' command.
That’s it, all that’s left is to run the tests and make sure everything works:
npm i -g yarn
yarn
yarn build
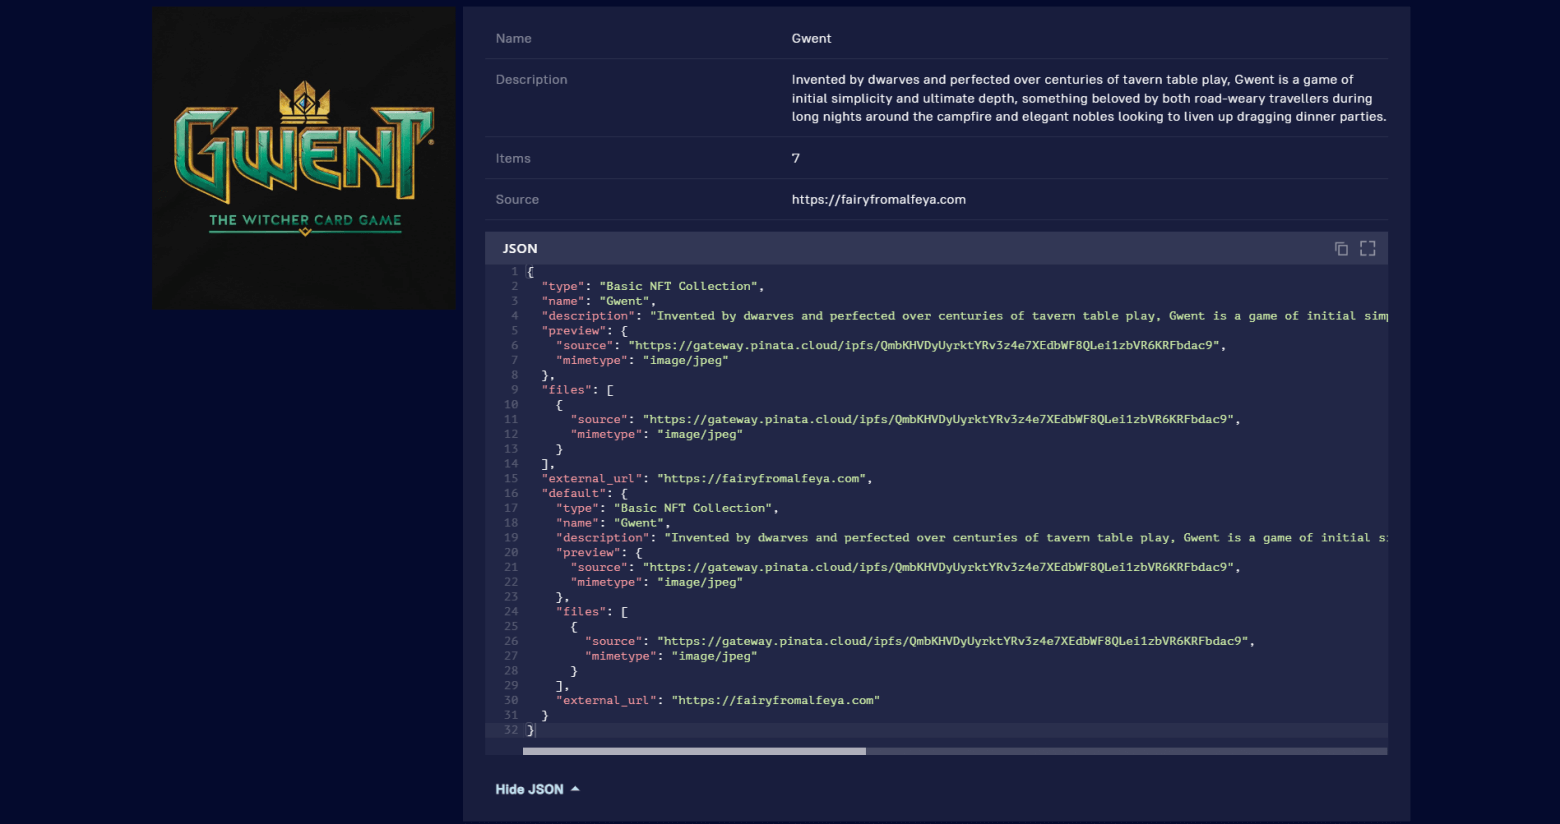
yarn testWe have already deposited our collection as an NFT collection in mainnet, you can see it in the blockchain explorer.
Conclusion
So, here we have taken the first step in creating a game on the Everscale network. In the following articles we will describe the logic of the gameplay itself, which will be recorded in smart contracts, and the frontend application for interacting with the game contracts.
Related